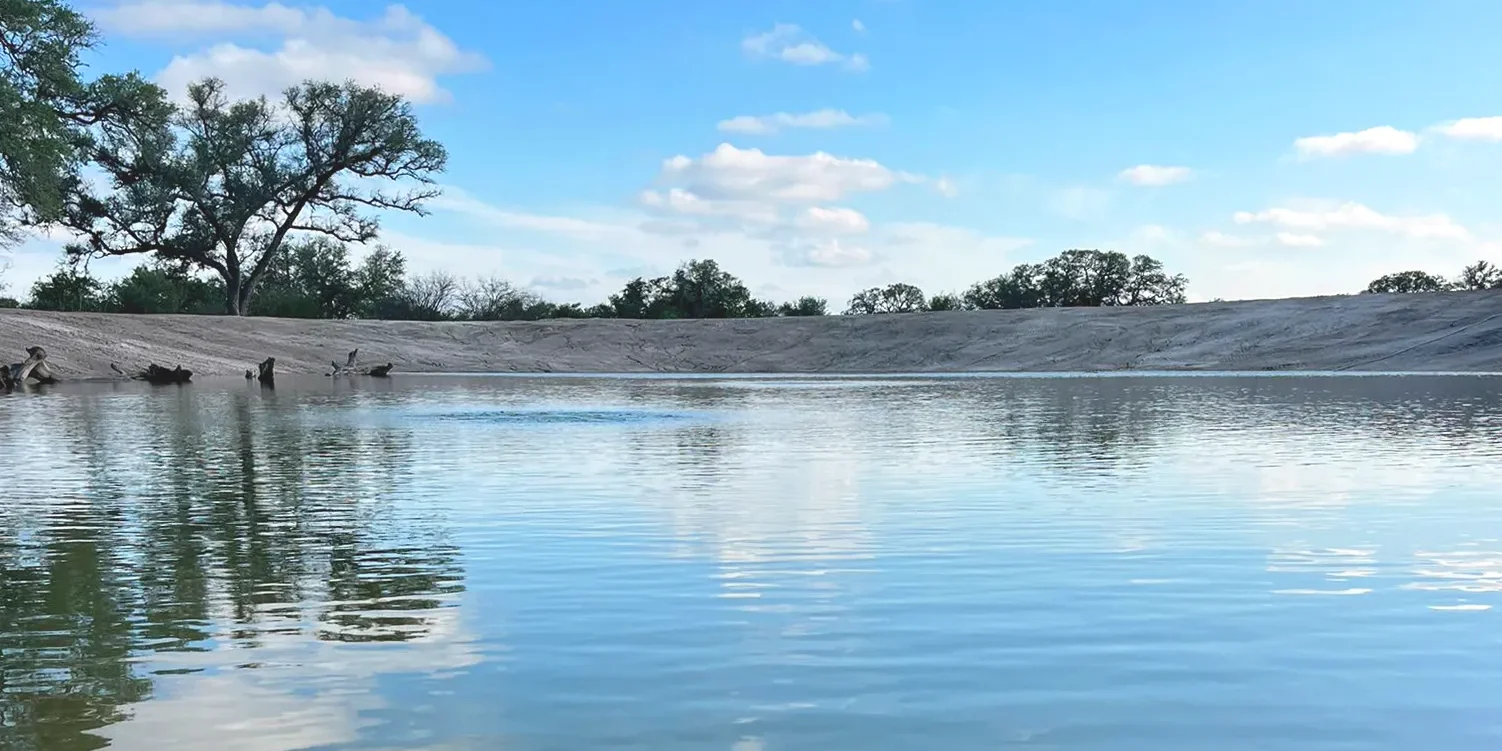
Building a catfish pond for farming is not very different that building any other pond. The process is the same, differences are in the recommended measurements and how many fish we want to have.
Studies and publications have shown that ponds between 8 to 10 acres are easier to manage than larger ponds and also ponds within 6 feet deep conserve more water and give your fish a longer life expectancy.
Know that we have our general idea, let’s get into the construction.
Step 1: Plan and Choose Your Site 📝📍
Selecting the perfect location is crucial for a successful catfish pond. Consider factors such as accessibility to a water source, sunlight exposure, and adequate drainage. You want your catfish to thrive in a healthy environment, so choose wisely!
Step 2: Excavation and Shaping ⛏️🔲
Once you’ve identified your site, it’s time to get your hands dirty! Excavate the area according to your desired pond size and depth. Remember, a depth of 6-8 feet provides optimal water volume and temperature stability for your catfish. Shape the pond with a gentle slope from the edges to the center, ensuring efficient pond management and erosion prevention.
Step 3: Preparing the Soil 🌱🔄
Prepare the pond bed by removing rocks, roots, and debris. Create a smooth surface and compact the soil to minimize future settling. Good soil preparation is key to a sturdy foundation for your catfish pond.
Step 4: Harnessing the Power of Bentonite 💪🌊
Enter bentonite, a remarkable clay with excellent sealing properties. Bentonite acts as a natural barrier, preventing water leakage and maintaining the desired water level in your catfish pond. It’s time to unleash its power!
Step 5: Bentonite Application and Dosage 🌐⚖️
Purchase high-quality sodium bentonite from a reputable wholesale supplier, like Lonestar Minerals. Calculate the required amount based on your pond’s surface area and the desired thickness of the sealing layer. Follow the manufacturer’s instructions for proper dosage. Mixing the bentonite powder with water creates a slurry-like consistency, similar to pancake batter.
Step 6: Applying the Bentonite Slurry 🎨🔁
Get ready to make your pond impermeable! Begin by pouring a thin layer of bentonite slurry onto the pond’s surface, ensuring an even spread. Layer by layer, apply the slurry until the desired thickness (1/8 to 1/4 inch) is achieved. Take your time and pay attention to detail—this step is critical for sealing success!
Step 7: Compaction and Curing 🧱💧
After applying the bentonite, gently compact the surface to ensure optimal contact between the clay and the soil. Allow the bentonite to cure for several days, ensuring it remains moist throughout the process. Witness the magical swelling of bentonite as it forms an impermeable seal, ready to retain water for your catfish to thrive!
Step 8: Fill It Up! 💦🐟
Once the bentonite has completed its curing process, it’s time to fill your pond with water from a reliable source. Monitor the pond closely for any signs of leakage during this phase, ensuring the seal is effective. As the water fills, your dream catfish pond becomes a reality!
Benefits of Bentonite and Your Catfish Pond 🌟🐠
Why choose bentonite for your catfish pond? Here are some amazing benefits:
– Superior sealing properties prevent water leakage and ensure a stable water level for your catfish.
– Cost-effective and environmentally friendly compared to synthetic alternatives.
– Natural and safe for aquatic life—no harmful chemicals involved!
-Easy to apply and long-lasting, providing you with years of worry-free catfish farming.
With the help of bentonite, you can create a thriving catfish pond


